

Column: Nick Riley
Nick is a professional drummer, touring nationally with Georgia Fair. He’s also an audio engineer and JMC Academy alumni, who splits time between live production work and recording for local bands and record labels.
Artists are always looking for speedy and affordable ways to get their music to their fans and there’s not many more ‘bang for your buck’ services an audio engineer can offer than an in-studio live recording.
I often work with artists and bands to produce filmed live studio and location recordings. If you set a band up like they’re jamming at a rehearsal or an intimate live gig you can easily capture the emotions and vibe of the room — which doubles as a perfect opportunity for powerful filmmaking.
With less studio time needed, less post-recording editing, and a video clip created simultaneously, it’s a great way to generate content quickly and cheaply, to distribute to fans and build a stronger social presence.
Plus, you can release the audio recordings standalone on a streaming service, then distribute the video clips. It’s like getting two for the price of one.
MINIMAL FUSS
For a number of reasons, minimalism is key when it comes to recording a live performance for video. One, the less gear you have to lug to a location, the better. Two, you’re going to be doing a dance to keep out of the camera crew’s way — visually and physically — so keeping a low profile helps. Thirdly, and most importantly, this is about capturing a one-off performance without complication. The less gear you have set up, the less distractions for the artist and the more chance you have of creating and capturing an important moment.
There is one caveat to all of that: you need the right gear.
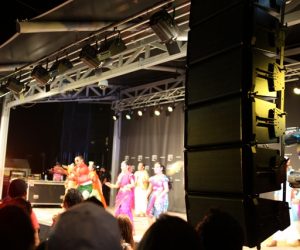
When I recorded Meg Mac last year, Meg and her management proposed the idea of setting up in Meg’s house to capture a completely intimate performance. The plan was to record her songs along with a track-by-track commentary. We set up a few lights to raise the atmosphere, but the idea was to draw fans into her home, not turn it into another showy gig, and the audio had to suit.
Meg would mostly be performing with her upright piano, a loop pedal and her voice. With a limited track count, I opted to hire a Zoom F8 recorder, and used just four mics. The F8 was the perfect tool. It meant I didn’t have to setup a laptop and interface — or even a table — I could keep my setup streamlined and simply focus on capturing Meg. Its gain knobs allowed me to easily ride the level as she layered loops up over the course of a song, and I was able to use an output to feed her in-ear monitors for foldback.
I placed an Audio-Technica AT4050 large diaphragm on the low strings of the upright, and an AKG C451 pencil condenser for the high strings. I used a Shure SM7B dynamic on her vocals and put up another AT4050 as a room mic to capture the intimate balance. While I did add some compression and effects in the mix, you generally want to lean on the room’s ambience to match the visuals.
![]()
Apply for JMC Academy’s Audio Engineering and Sound Production, or Masters of Creative Industries courses, to get qualified with hands-on experience, study abroad options and internship opportunities. Intakes in February, June and September. Check the courses out online at jmc.academy/audioat
GROOVING WITH SPILL
You should always try anything to make the performer comfortable, but be prepared to make a judgement call if it’s affecting the outcome. For instance, I originally put up a monitor wedge for Meg, but it created a slapback delay that sounded foreign to the space. That’s why we opted for the in-ears.
Sometimes spill can actually work in your favour. I recently recorded a live studio performance of Joe West, a soulful, bluesy rock artist. He’d done a few studio video clips before and didn’t like the way headphones detracted from the visuals. We used foldback wedges instead, which were picked up by the microphones, but it was an electric blues, Stevie Ray Vaughn-sounding track, and I was using a TC Electronic vocal pedal to distort his voice. We also had slap back delay and reverb in the mix. The spill from the wedges just added to the overall sound.
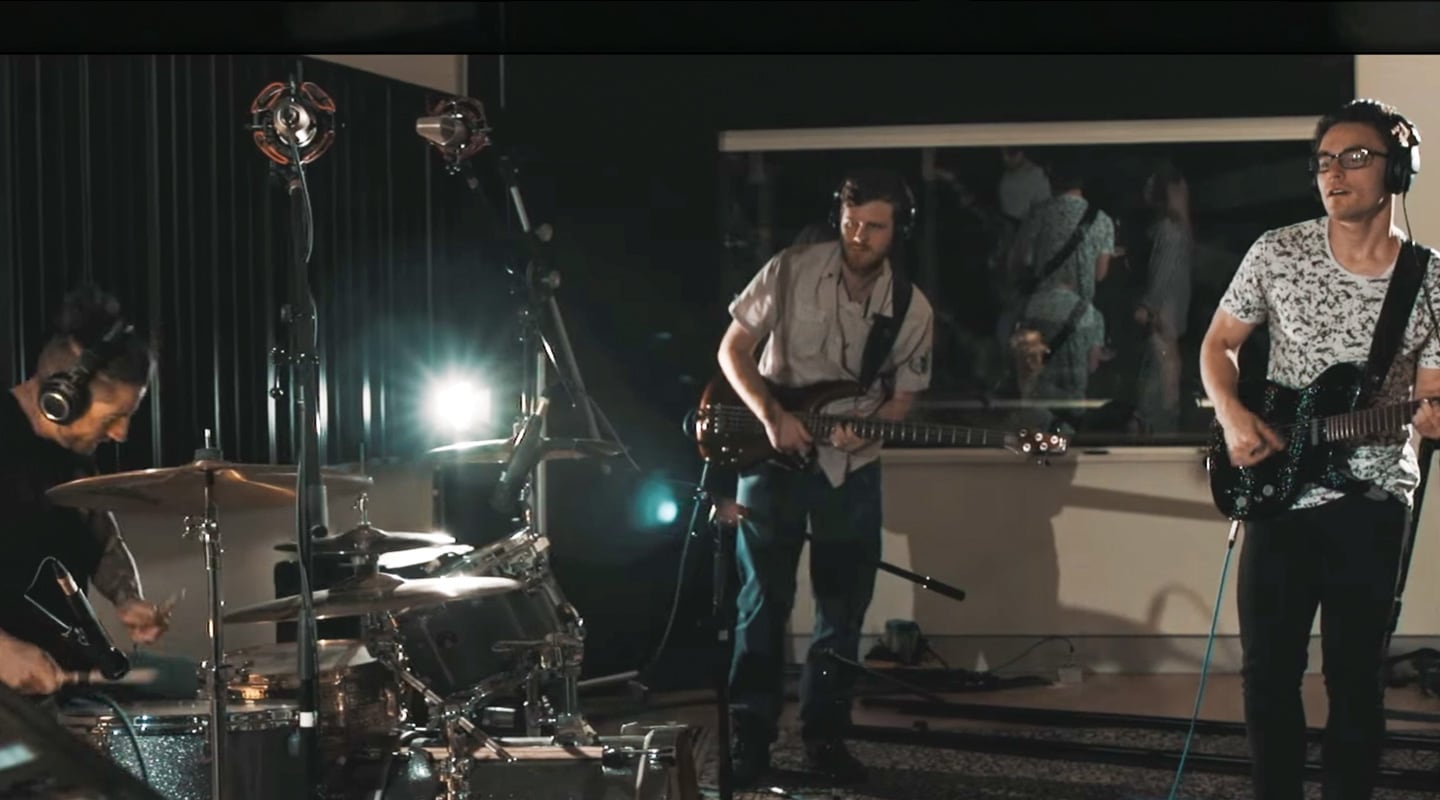
Occasionally you have to take drastic measures to cut down on spill. I recorded a live version of Luna Avenue’s song Stay. With drums, bass, keys, two electric guitars and vocals, the studio was instantly packed to the gills and the spill became very difficult to deal with. Trying to maintain camera sight lines only made it worse because I couldn’t use any baffles to help isolate instruments. To keep things under control, I used virtual instruments for the keys and amp sims for the electric guitars. It meant only the drums and vocals were miked up in the room, and by using a low sensitivity cardioid dynamic like the Shure SM7B, with the rejection zone of the mic pointed at the kit, it left room for vocal compression in the mix without bringing up the spill too much.
While it’s not as ‘live’-sounding as the Joe West record, using studio tools helped deliver a clear and balanced mix while still letting them play to each other and keeping the groove intact. To add even more of the room feeling back in, afterwards I simply reamped the guitars in the same room to capture more authentic ambience. If the performer is struggling to keep time, but gets robotic when fed a click track, another trick I use is bringing along a drum machine and feeding them a beat or conga rhythm to keep the groove alive.
LISTEN UP
Although you may have less control over live studio recordings compared with a layered multi-tracked approach, the result can sound and look great. You just have to be scrupulous about listening to each take. You don’t want to listen back later and find out the camera person bumped into a mic stand at the start of an epic chorus.
A huge part of the sound comes down to how the band work and interact with each other, but it also comes down to how the engineer approaches the performance capture. Live studio recordings are one aspect of the industry I have grown to really love. The mix of using studio equipment and the excitement and vibe of a live performance gives me all the best bits of audio engineering, in one hit!’


RESPONSES