0
Read Next:

Boring But Important: Microphone Splitters

The many ways to split up your audio path. Including Trev’s Grumpy Guide on using them to record without splitting up the gang.

By

18 April 2012

Tutorial: Trevor Cronin

Microphone splitters are one of those ‘non sexy’ items that sound engineers get to use on a regular basis. They can be just a simple one input/two output ‘Y’ cable, or for the big gigs, a large mains powered stand-alone rack that has 96 inputs/384 outputs with separate gain, phantom power, metering and monitoring. Both of these items do the same thing – split the output from a microphone into two or more outputs. So why bother doing this? Well in a standard concert sound system there are generally two people mixing the sound on separate consoles: One on stage dealing with the stage sound (monitors), and one ‘out front’ (Front of House) mixing for the audience. These are two more or less completely independent sound systems that happen to share most of the same inputs (and band).

Another common application is for a press conference, allowing for just one microphone to be placed in front of the presenter and splitting it into as many outputs as required by the press crews. It’s one up on the good old-fashioned method of sticking a news channel’s entire collection of microphones in the interviewee’s face!

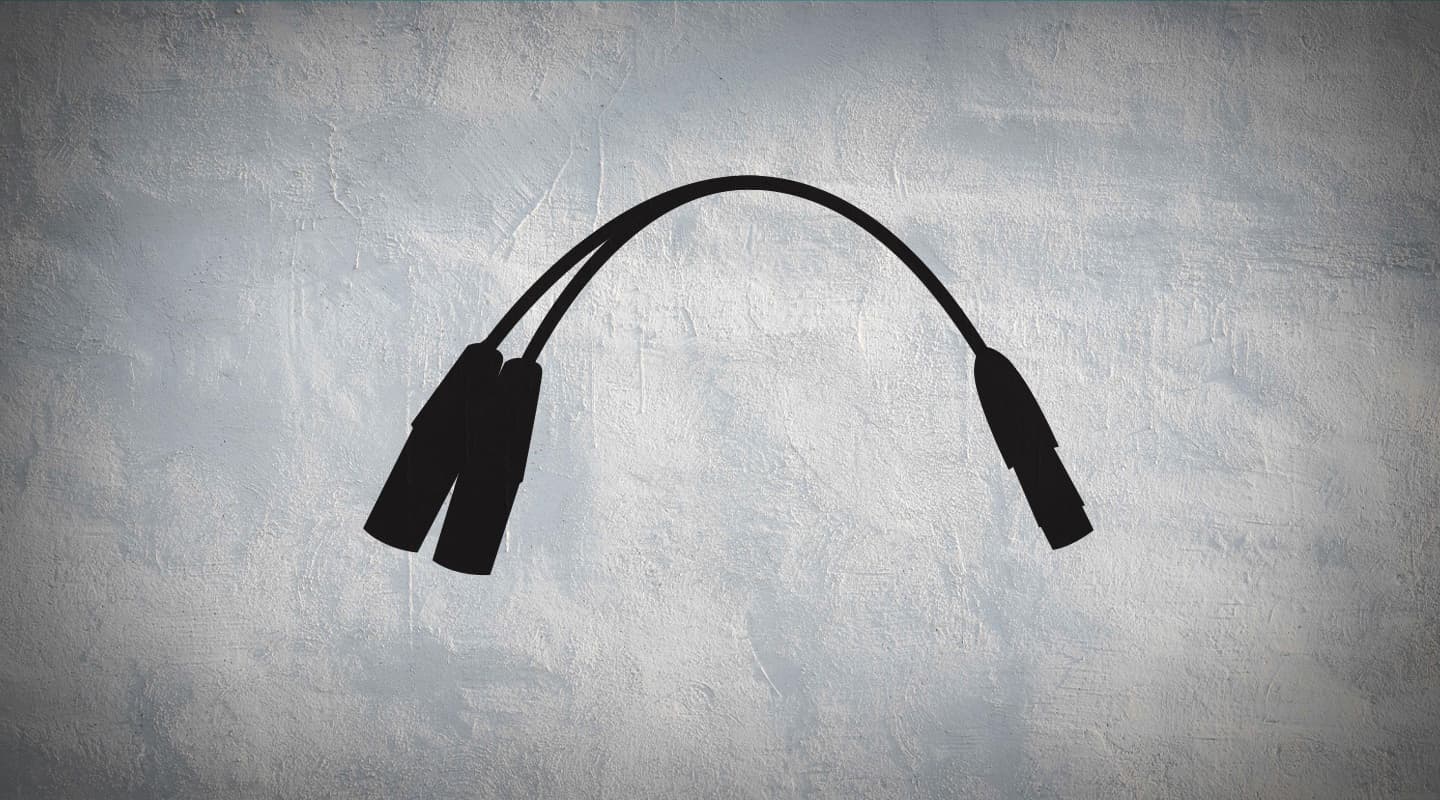
In the studio, splitters are often used to feed one mic into a few different signal paths, say one into a preamp and another straight into a monitor mixer or some wacky effects machine. So there you have a few applications and you can figure out the splitter is a pretty handy piece of kit to have at hand. But wait we are not quite done with splitting audio quite yet! How do we split a signal from a technical point of view? There are at least six ways (maybe more). The first example of a simple ‘Y’ cable is a good starting point.  

1. PASSIVE SPLIT

This is the most basic form of electrical plumbing. One female XLR connector hardwired to two male output connectors, pin for pin. You should find a few of these in most sound system’s handy array of adaptor cables, generally custom made. A larger version of this method is the standard concert sound multi-core system, which might have double the outputs when compared to inputs. Sometimes there is a separate earth lift switch incorporated on each channel of the shorter cable length (typically the monitor system outputs). This is used to rectify earthing problems between two consoles. Some times all the earths are connected together (on older systems), which can cause problems. However, I’ve used quite large systems with this arrangement over the years (with three outputs – FOH/Monitors/Recording) and had no real problems.

PROS
  • Cheapest option, very robust and simple.
  • No power, so no electronics involved, and consequently no noise floor issues. 
  • A good DIY project for days off – make some earth lifts and phase changers at the same time!
CONS
  • Puts an increased load on the microphones output current, which can degrade the sound (especially on low output dynamic microphones). 
  • Typically makes the sound a little duller. 
  • If one of the mic preamps is re-patched, loses power, or phantom power is switched, the other systems get a nasty surprise – not good mid show.
  • Susceptible to earthing buzzes.
BUYER’S GUIDE

Pre made systems from the good XLR connector companies – Neutrik, Alcatel and Switchcraft. Modular rackmount systems from Aussie locals ARX systems and many cable manufacturers – Whirlwind, Canare, Klotz, Link.

2. PASSIVE SPLIT WITH TRANSFORMER ISOLATION

Generally a three-way output system with one direct feed and two feeds isolated by an industry standard Jensen transformer. This is what many people consider their favourite option for a concert sound multi-core system. Many hire companies make their own systems (an advanced DIY project) with multi-pin connectors on outputs for fast patching. Small units featuring two channels are available from a few manufacturers and are great in the studio to interface between valve and solid state or digital gear. There are multi input modular rack mount systems available from an assortment of manufacturers that make a neat package in a flight case.

PROS
  • Very robust and flexible, no power required so no electronics involved (no noise floor issues).
  • Avoids earth hums and absent minded patching issues!
  • Some prefer the sound obtained.
CONS
  • Expensive, heavy and does still degrade the sound a little as all passive splitters do.
BUYER’S GUIDE

Beldon, Whirlwind, Jensen, ARX systems, Wireworks.

3. ACTIVE SPLIT

The more modern method that has been in use the past 25 years or so. Some consider this as the only way to go as you have plenty of handy facilities with this option, such as individual phantom power, level metering, and audio monitoring (via headphones). Some of these units feature remote gain adjustment and are really a remote microphone preamplifier. These systems can supply line level output that can directly drive a recording system or a long signal path. The top of the line units can include output transformers that provide isolation and some say a better sound. This is the normal system you will find in a large concert sound system where the on stage ‘patch engineer’ will be looking after all the inputs and checking that everything is clean in their cans.

PROS
  • Lots of output level.
  • A bunch of extra professional features
  • No dulling of the sound of dynamic microphones.
CONS
  • Dependant on robust mains power.
  • Adds some noise from the active electronics.
  • May colour the sound.
  • Can change the output level.
BUYER’S GUIDE

The British manufacturers have been the leaders for many years. BSS, Klark Technik, XTA, LA audio along with Whirlwind from the USA and Australians, ARX.

4. DIGITAL SPLIT

The newest way of doing things. Each new digital mix system now comes with a standard or add-on stage box that has multiple digital outputs that feed each mixer or recording device. Some systems do all the processing in the stage box and the mixer is only really a remotely located control surface with a few local inputs and outputs. Sometimes the console may have a multi channel output connector (such as Firewire or light pipe), which makes a simple patch into your recording system. This is a great system and will be what most people will be using now and in the future at the big gigs.

PROS
  • Cost effective as often comes as part of system package.
  • Low cost network cable used.
  • No sound degradation (after A/D conversion).
CONS
  • Many digital formats are not shared amongst different manufacturers.
  • Digital bridges for format conversion are expensive.
  • Some questions over preamp and conversion quality vs straight analogue.
  • Clock source and mains power issues can ruin a good day.
BUYER’S GUIDE

Midas Pro series using the DL 431 stage box, Digico, Digidesign Venue, Yamaha, Studer/Soundcraft, Allen & Heath, Roland.

5. DIRECT OUTPUTS/AUXILIARY SENDS/CONSOLE BUSES

Most good quality analogue and digital mixing consoles have a direct output on each channel which is great for connecting a multi-track recorder. Console buses and spare aux sends are good for using as a split to the broadcast/camera systems.

PROS
  • Free! 
  • They are part of the existing system and generally give a good sound.
CONS
  • Human resources dependant, you may be quite busy already mixing the show without having to deal with extra feeds to external sources (and operators). 
  • Is the feed configured pre EQ and pre-fader?

6. DOUBLE MIC’ING

Back to the beginning, and some would say, the good old-fashioned way. Tape an extra microphone or two to the existing ones. It worked well at Woodstock and still does today. It’s sometimes the only option available. And the look of 10 microphones in front of a presenter makes them look important too.

PROS
  • Self service.
  • The best sound quality.
  • Unplug and go home whenever you like.
CONS
  • Not the right look (some may say).
  • Gets in the drummer’s way.
  • Expensive buying multiples of good microphones.

SPLITTING TALES

Mixing the press conference to launch the Formula One Grand Prix in Abu Dhabi. Because of the many V.V.I.P’s that where attending, security at the Emirates Palace locked off the venue after sound check until about five minutes before show time. Yours truly walks up to the mixer and 10 broadcast techs pounce wanting a sound feed. Luckily I had developed the ‘Grumpy Method’ some years previous (see point 10) and was able to smile and point to the ARX MSX 32 splitter. Of course many patched in after we started, as security had to check their gear before allowing access.

I was using the trusty Italian Eurocable/Link passive splitter system for a live recording of Sheva, a world music act, at the Prince band room in musky St Kilda. One of the inputs was not working, so popped around the rear of the lovely vintage Midas console and gave the XLR a little wiggle. I hear a nice bang from the next room and some one yelling, ‘WTF!’ Oops! Someone had forgotten to secure a channel strip after gear service and it had come unconnected.

“Mute every thing for a minute please, I have to power down to sort out a little problem.” 

Lucky it was at the start of sound check, so no problem (refer to points 1 and 5 in the Grumpy Guide). The recording was successful and won an award.

TREV’S GRUMPY GUIDE

Using a microphone splitter system to record a concert – without upsetting the other sound engineers. Plus, how to be nice to broadcast people.

  1. Do some pre-production! Meet or speak with the artist management and sound engineers or venue sound engineer and do a site visit. Obtain an input list with phantom power requirements. Workout where to get your mains power supply from, and where to position your gear where it won’t get in the way.
  2. On show day, set the system up early (just before or at the same time the other sound crew arrive). This is a great way to make everyone comfortable that you are a professional and won’t mess up their show.
  3. Set the active splitter’s gain or pad switch to unity, earth-lift off, phantom power and filters off. Are the connector contacts clean?
  4. Be on hand to assist with the patching, as the inputs will generally be going into your system first. Ask the stage manager to get the lighting guy to stop flashing the lights in your eyes while this is done. Assign phantom power as needed.
  5. Be ready to check input levels in your recording system as the live crew do. You can eavesdrop on everyone with your audience microphones.
  6. If you find any problems (buzzes, distortion, noise or bad lines) have a quick word with the head sound engineer.
  7. Fine adjust the splitter’s gain to correct level (use the pad if necessary), somewhere below 0dB as the player then has that extra 25% they can use (they always play harder at the show).
  8. Put your system into record and have a nice mix coming from your monitoring system and assess what you hear, that way the live sound engineers/management can have a quick listen to your rig if they want to check out the sound.
  9. Don’t change the splitters input gain or phantom power settings without letting the sound crew in the room know before hand (so they can mute or adjust that input channel).
  10. Are you going to be dealing with the broadcast feed to one or more cameras etc? Set this split up before the event starts (make sure it is electrically or transformer isolated), test it and be ready to go. Stick a piece of PVC tape with an arrow pointing at the allotted output connectors. Broadcast crews always turn up at the last minute and demand to be instantly patched in, sometimes after the event has started. They pass you a short mini jack then pester you to adjust the level or mix and inject a big earth hum into your speakers. If you have the slightest suspicion that they may turn up, this preparation will save much grief, you can just smile and point.

RESPONSES

Leave a Reply

Your email address will not be published. Required fields are marked *

More for you

Filter by
Post Page
News Microphones Drum Microphones Condenser Microphone Lauten Audio Reviews Dynamic Microphones Audix Issue 93 Regulars Issue 88 Fresh Produce Headphones Neumann Issue 86 Guitars Issue 85 Two Notes Feature Issue 80 Recording Issue 78 Apogee Issue 68 Issue 61
Sort by