

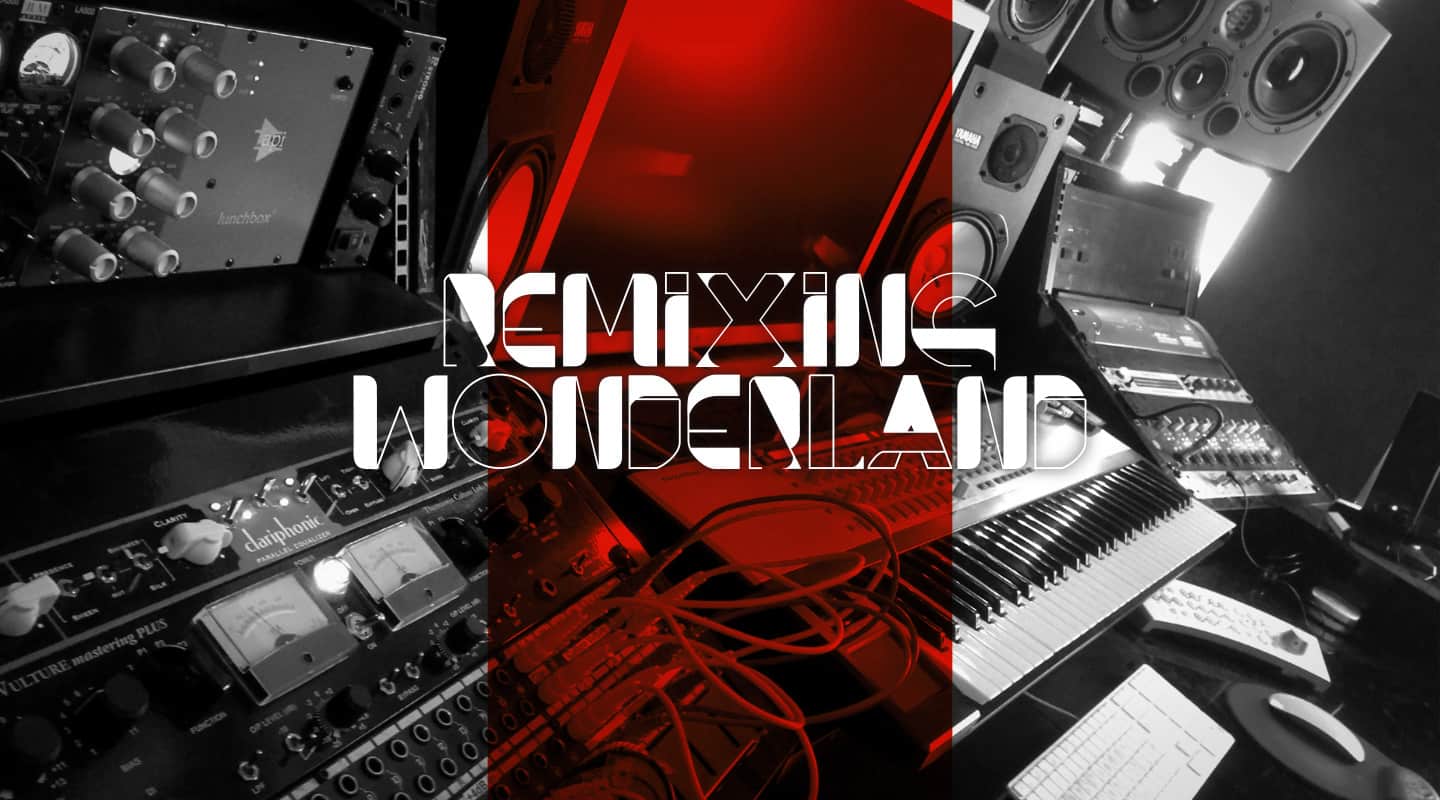
Remixing Wonderland
Jotheo drops some hot tips in his spin on AudioTechnology’s Remix Competition track.
By Mark Davie
1 May 2014

Album: Wonderland
Artist: The Occupants
Story: Stephane Elmosnino & Mark Davie
Dance remixes can often sound like a hyperactive younger sibling — aping a few traits but generally playing around with the fun bits and turfing the laboured, grown-up stuff. Even if it’s not your normal cup of tea, remixing is great practise for your arrangement and production techniques, because embarking on a remix is a lesson in getting to the point: find The Drop, and build your cubby around it.
Here to give you a leg up if you haven’t already submitted your entry into AudioTechnology’s Remix Competition is Stephane Elmosnino, who goes by the name Jotheo. He’s also the head of Audio and Sound Production at JMC, a percussionist, and mixes and masters EDM.
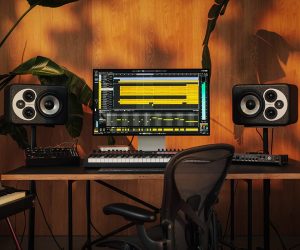
In the last few years, it seems more sample-centric DAWs like Ableton’s Live have become the go-to workstations for remixing. But Stephane works primarily in ProTools. We thought it would be interesting to see how he goes about it. Here’s Stephane:
When you start any remix, it always begins with the same question: What’s its purpose? Depending on whether you’re remixing for the club or just to open up the song to a different audience, dictates whether you have to follow a more club bpm, or if it can be a bit more free-flowing. It can also determine structures, song lengths and other decisions. I figured the Wonderland remix wasn’t necessarily going to be played in a club, it’s potentially more suited to a festival environment, or for people to listen to at home.
ON THE BEAT
At 166bpm, this was a little out of my depth, because I usually work at way different bpms hovering around the 130bpm range. So I experimented with changing the tempo up and down from the original, but whether it was going from 83 to 130bpm, or 166 down to 130, it wasn’t working. Seeing as I’d already decided the purpose of the remix wasn’t to be played at a club, I just stuck with the original bpm.
Determining the bpm is as simple as whipping out a quick tap tempo app on your iPhone, or using the ProTools tap tempo feature. The original song was definitely recorded to a click, so that made everything a lot easier. If it hadn’t been recorded to a click, I usually use Elastic Audio to conform the song to a particular tempo.
HOOKING UP
Once I’ve got the bpm set, I’ll listen to the original track a few times to figure out the hook, which parts stand out and set the original song apart. Considering this track was so long, and had a million different parts, I figured using the chorus vocals would be the way to go.
Next, I play along to the original with a synth and try a few chord progressions to see if anything sticks. I ended up transcribing the vocal melody to MIDI, to see if it could be used as a lead line down the track. Then it’s a matter of trial and error. So if I found a chord progression I like, I mute the original and work from that. This is the most critical part, working out the core sounds and something that will become the hook of the remix.
Again, the choice comes back to the purpose of the remix. And in the end, the chorus vocal maintained its place as the main hook.


MAP IT OUT
Once I’ve figured out the chord progression, I put that same progression on a bass instrument and see whether I can move it around, away from the main progression. Or if I can have a bit more movement in the bass line while the main progression remains static, which helps break it up.
I’ll map out the structure of the song with markers, so I’ve got a clear goal when I’m working. Otherwise it can feel daunting not knowing when the song’s going to end. And usually, once I’ve got the markers, I’ll already have found the main drop (the chorus, for example) of the song and can put those parts where they’re needed, and work from there — add drums, and work out what I can use from the original song in the breakdown parts.

Sweeps can turn a dodgy old lump into a deliciously presented gateau
SWEEP UP
Sweeps are the very last things I do. They’re like icing on the top of a cake. It can turn a dodgy old lump into a deliciously presented gateau. If you start with sweeps, it’s almost like cheating because you’re hiding a structure that may not be there in the first place. So compose the whole song without them, and add them where there’s a need to tell the listener something’s about to happen, or to smooth transitions over. (Think of your sweeps like reverb — you wouldn’t generally start by putting reverb on vocals.)
In the session I’ve really got two types of sweeps; sub drops for impact, ranging from white noise to tuned sweeps, and sweeps to help with the transitions. For the second type I’ll grab the first note of the lead synth or first syllable of word happening on the down beat of the next bar and process it in D-Verb. It helps with transitions because it announces the pitch of what’s coming next.
You can easily create white noise sweeps with any old synth. There’s also an Avicii-style effect I’ve made in Boom with 16-note tom hits and automating the tuning upwards. It’s not really a sweep, but it’s very much the sound of 2013, it was in a lot of songs.
Sweeps are funny, because you hear a lot of producers doing the same sweeps, and not necessarily because they’re from particular sample packs, but because there’s a sweep sound of the moment.
WHICH TOOLS?
I’ve used ProTools for the last 11 years. I’ve used and taught other DAWs — Cubase, Live, etc — at JMC. Even though some of the other DAWs can do the work really well, I find ProTools’ audio editing tools to be hugely powerful. As far as workflow, it’s my preferred way of working, especially when you’re using the Smart Tool and shortcuts — editing vocal syllables together, sequencing drums out of audio samples — I find I can work a lot quicker in ProTools.
There are some tools that aren’t natively there, though you can still get them in ProTools. For instance, in Live you have Slice to MIDI which isn’t a native feature of ProTools, so for the remix I loaded the vocals into Kontakt, which has that feature. For the Audio to MIDI feature, you can use Melodyne, same with Drums to MIDI, there are plenty of third-party plug-ins for that.


RESPONSES