READ ONLINE NOW
Online
Issue 94
0

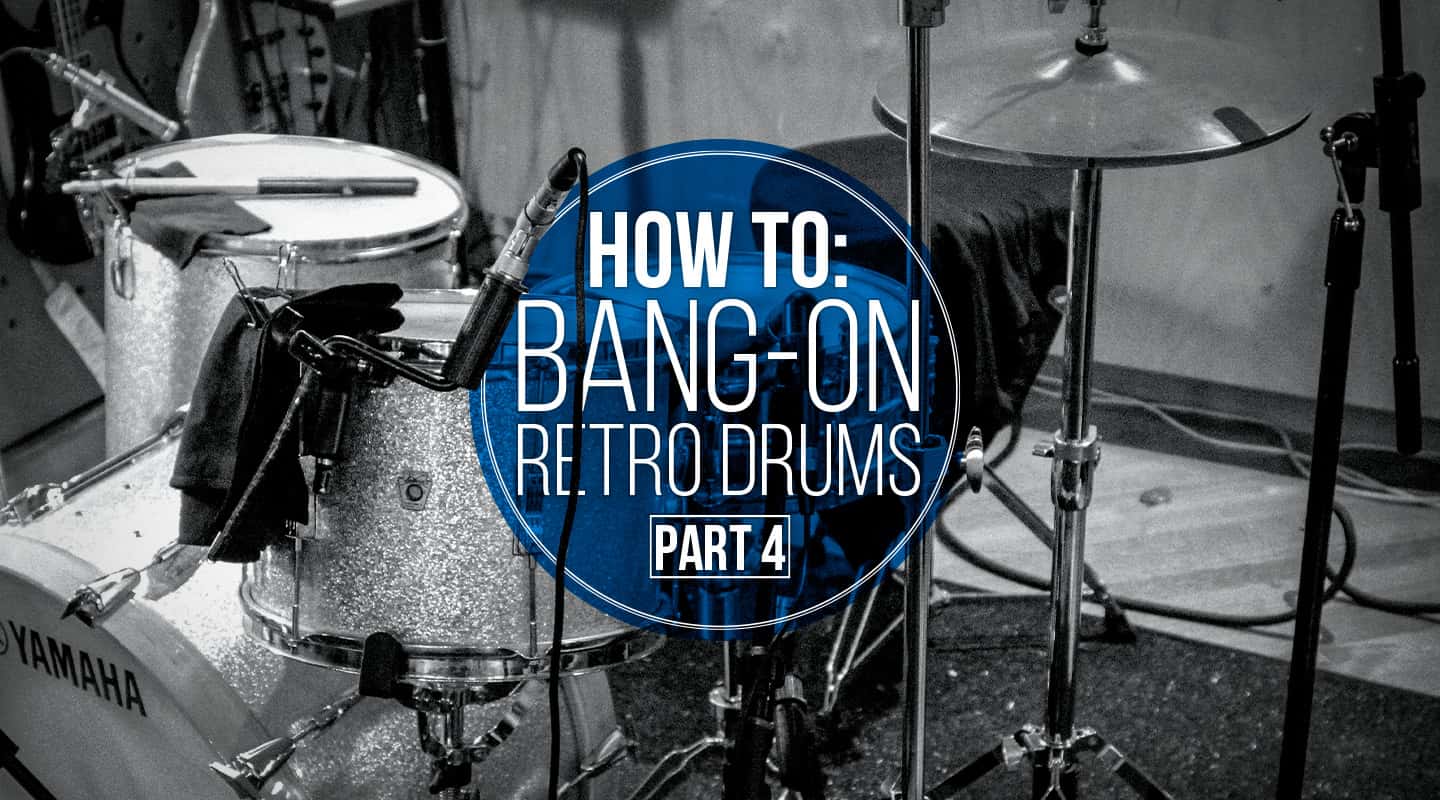
How to: Bang-on Retro Drums Part 4

Tired of drums sounding big, wide and boring. Turn back the clock with us as we re-create drum sounds from the ’50s, ’60s and ’70s.

By

31 July 2015

The ’70s & Beyond 24 Tracks & Total Control

Tutorial: Michael Carpenter

By the time we hit the ’70s, very quickly 16-track, then 24-track became the norm. Recording as an ensemble was no longer needed, as each instrument had its own tracks. The drums were spread out over four to six tracks, allowing for more control in the mixing process. Compressing to tape became less critical. Studios that were once big, open recording spaces started to be partitioned off for a more controlled sound, allowing for increased creative options at mix time. Valve consoles were replaced with transistor-based versions, with greater EQ and routing flexibility, allowing the drums to be sculpted tonally. Drums were made tonally dead, with bottom heads starting to be taken off toms and mics put inside the drums, or gated heavily for greater separation. Drummers devised all kinds of ways to muffle, mute and control every ambience and resonance from the kit, including copious amounts of gaffer tape, or pieces of felt that flopped up as the drum was struck and rested back on the head. Drums were tuned deeper for a fatter tone. Small diaphragm condensers became the norm for overheads and hi hats, and producers were looking for a more hi-fi approach to drum recording. It was all about a controlled, focused, deep, percussive tone that screamed ‘high quality’. Ambience was generally a thing of the past.

Mic positions for that tight close mic sound positioning, with kit dampeners in place.

THE ’70s & BEYOND 24 TRACKS & TOTAL CONTROL

Key listening tracks:

Rhiannon – Fleetwood Mac
Hotel California – The Eagles
Young Americans – David Bowie
Jive Talking – The Bee Gees
Close To You – The Carpenters

HOW TO GET THAT ’70s CLASSIC ROCK SOUND

  • The deader you can tune and mute your drums, the better. Use much smaller cymbals for punctuation rather than explosive accents. Even put some light tape on the ride cymbal to make it a nice dry percussive hit without much wash. Don’t be scared to extend the hi-hat stand to its maximum height and drop the height of the snare to get as much separation as possible — or even move the hi-hat a bit further away from the snare. It may be less comfortable for the drummer, but will make the snare sound purer, and make it easier to work with.
  • Think massive drum kits — four or more toms were the rule rather than the exception. It wasn’t unusual to see four mics close to the cymbals, submixed to a stereo pair; a mic on each tom, submixed to a stereo pair; plus a kick and snare track, sometimes with two mics on each submixed.
  • It’s all about the close mics.
  • Once again, tell your drummer to play to the mics, which often means playing a bit quieter than normal. There are stories of legendary studio drummers who rarely played loudly, instead focusing on consistency of drum hits. Any sort of rimshots on the snare should be avoided — it’s all about consistent hits in the centre of the head. The whole effect is a drier, completely focused and controllable tone at all times.

When mixing the sounds, it’s all about clarity. Gate the snare and mute the silences on the toms. Sculpt the sounds of the kick and snare. Add high mids to the toms for extra definition. High-pass filter the cymbals and hi-hats aggressively, and keep them reasonably low in the mix. Insert a compressor on the kick and snare, and place one on a drum submix too, but with a low ratio and moderate attack/release. You’re just using it to tighten up things rather than change the tone.

POST PRODUCTION

Occasionally you’ll want to give contemporary-sounding kits or loops a retro overhaul. Here are a few simple tips to unsterilise your sounds and make them a bit more fun. When dealing with a kit’s individual tracks, start by submixing them into a stereo or preferably mono submix and treating the drums as one instrument.

One of the first, most simple tools is EQ. A lot of vintage gear was relatively lo-fi in comparison to today’s tools, so a few basic EQ tweaks can overhaul sounds completely. High- and low-pass filtering immediately reduces the fidelity. Finding the right gnarly frequency in the midrange, with a fairly wide Q, can give your tracks a certain ‘honk’ synonymous with vintage tone. Experiment and play around, keeping in mind that a lot of these sounds weren’t hi-fi to start with.

Next, apply compression. There were so many different levels of compression happening throughout the process. Preamps being pushed beyond their design. Compressors inserted into busses pre-tape. Tape compression itself was a big factor too, often squishing off the transients as records were tracked further into the red. So it’s worth experimenting with lots of different ratios and attack/release times, as well as both compression and limiting. For the earlier stuff, you’ll be looking at lower ratios, and longer attack and release times — you could use presets in your compressors similar to those you would use on a master bus.

For a mid ’60s flavour, set much more aggressive attack and release times to pump the cymbals. This works a treat, especially in combination with a reasonably aggressive limiter to squish the transients. You’ll hear a dramatic change to the sound of your tracks, but that’s the idea.

For late ’60s and ’70s, return to more transparent compression to glue the tracks together. Lower ratios and moderate-fast attack and release settings will tighten things up without squishing the sound too much. A little limiting to flatten out the transients will be handy too.

Last but not least is distortion. Everything from tape saturation, to overdriving compressors, to vinyl plug-ins, to distortion pedals. There’s a lot of distortion on these pre-’70s records, everything was being pushed too hard — mics, consoles and tape machines. If you listen to Motown records, for example, they’re sublimely overdriven. Having a blend control can be handy to dial in just the right amount of grit. But don’t be shy about it. This can be crucial for getting your grooves sounding spot on.

The more I know about the original approaches, the more authentic my results are when emulating them in a contemporary setting

THE EXCEPTIONS

Of course, there are always exceptions to every genre. In the early ’60s, Phil Spector took to drum recording with a ’50s approach. In the ’70s, drummers like John Bonham and Roger Taylor tuned their kits to sound like Big Band drummers of the ’40s and ’50s. Nevertheless this should give you a general guideline to the way engineers captured the drums over a critical period in pop history.

Essentially, when approaching retro drums, you have to break down your own preconceived ideas of how drums should be played and recorded. Once you do that, you can get really creative with the way your drum sounds present in your records. It may just be the thing that separates you from everyone else.

Read more in the series:

RESPONSES

Leave a Reply

Your email address will not be published. Required fields are marked *

More for you

Filter by
Post Page
Free Stuff VSTi & Sample Banks News Interfaces Audio interface Studio Monitoring Tutorials Retro Feature Recording Issue 94 Live Sound Issue 92 Reviews Digital Console Yamaha Issue 91 Issue 88 Regulars Top 5 Issue 87 Interview Issue 82 Microphones Lavalier Microphone Sennheiser
Sort by
READ ONLINE NOW
Online
Issue 94